Welp, I've managed to be MIA for almost a year. Sure, there've been blog posts here and there but, for the most part, GONE. I'll admit it - Instagram had stolen my attentions away. It's just so quick - click! - to post a shot of what I'm up to. If you follow me there (@shecraftsdoom) then you know I've actually made quite a few things over the last few months and even instituted a little "me" time I like to call Crafty Sundays wherein I craft. On Sundays. Fascinating, I know - you've been missing out!
The truth is, I'd kind of gotten into a slump when it came to making things and blogging because I became so focused on making stuff for the shop. And lost my drive a little because I felt like everything I made had to fall into the context of items that fit that aesthetic and that I thought would sell, completely forgetting that I make things simply because I ENJOY MAKING. I don't actually care if anyone wants to buy my items. I started a little shop just 'cause I couldn't think of what else to do with all I make. And, yes, because secretly I would love to make crafting my one and only full time job.
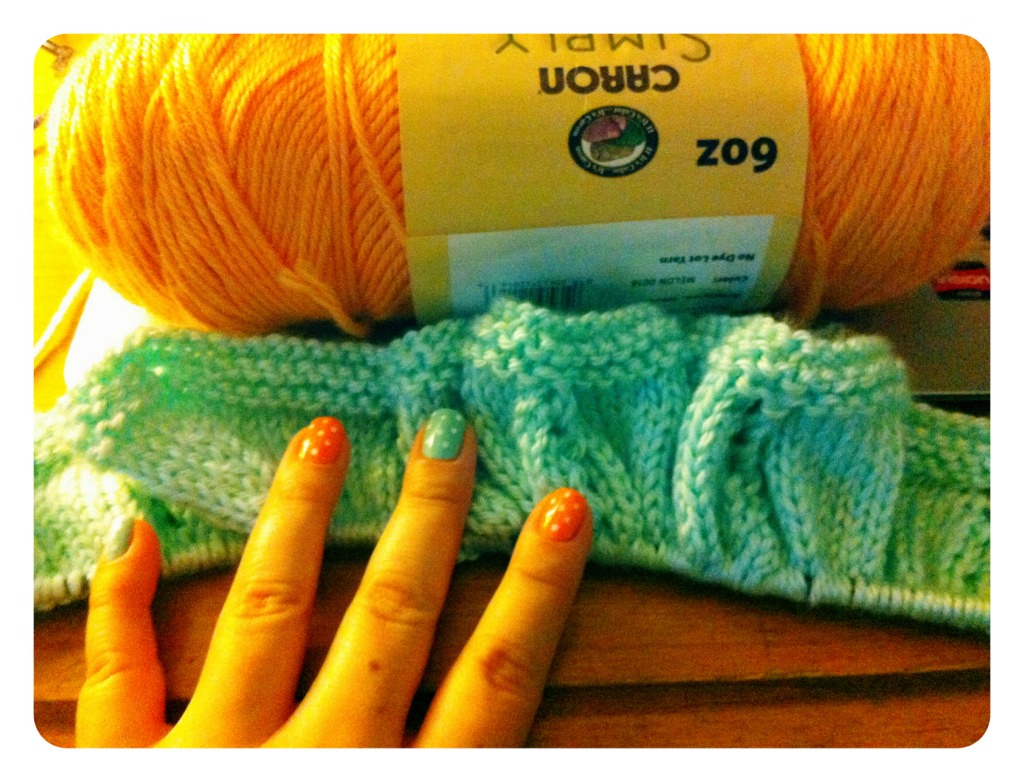
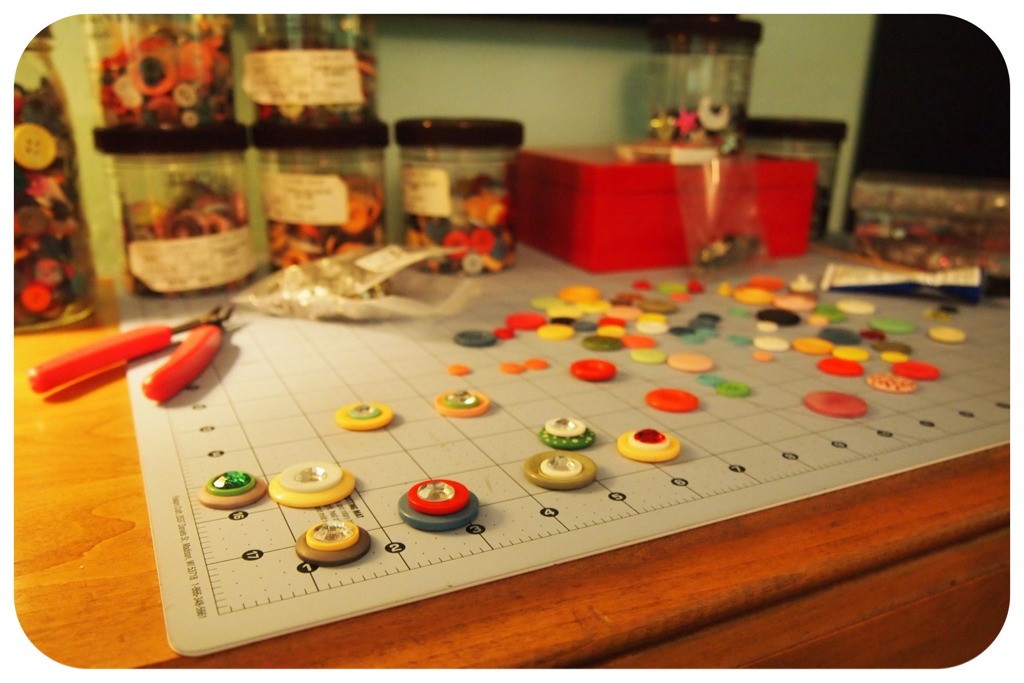
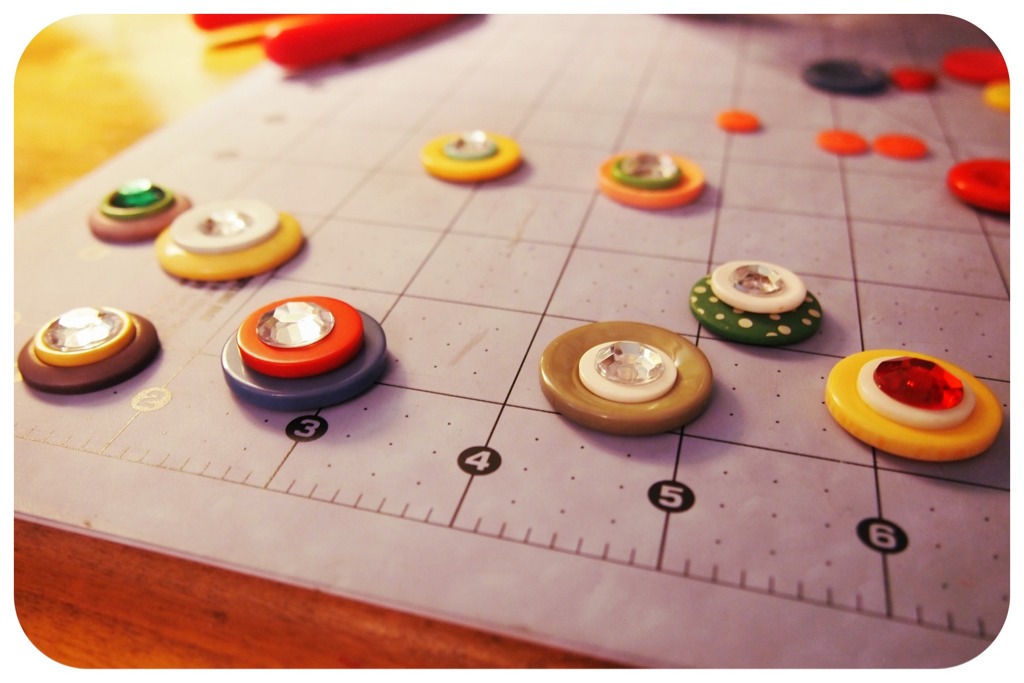
So, for awhile there, I wasn't making anything at all. Which meant I had nothing to blog about other than what a loser I am for not wanting to make things. I finally decided that I needed to temporarily shut down the shop and get back to making whatever I want whenever I want. It's completely reignited my love of grabbing a bunch of items without any plan in mind and seeing what comes of it. Which, in turn, has motivated me to get back to posting here! Ah, the happy little circle of life.
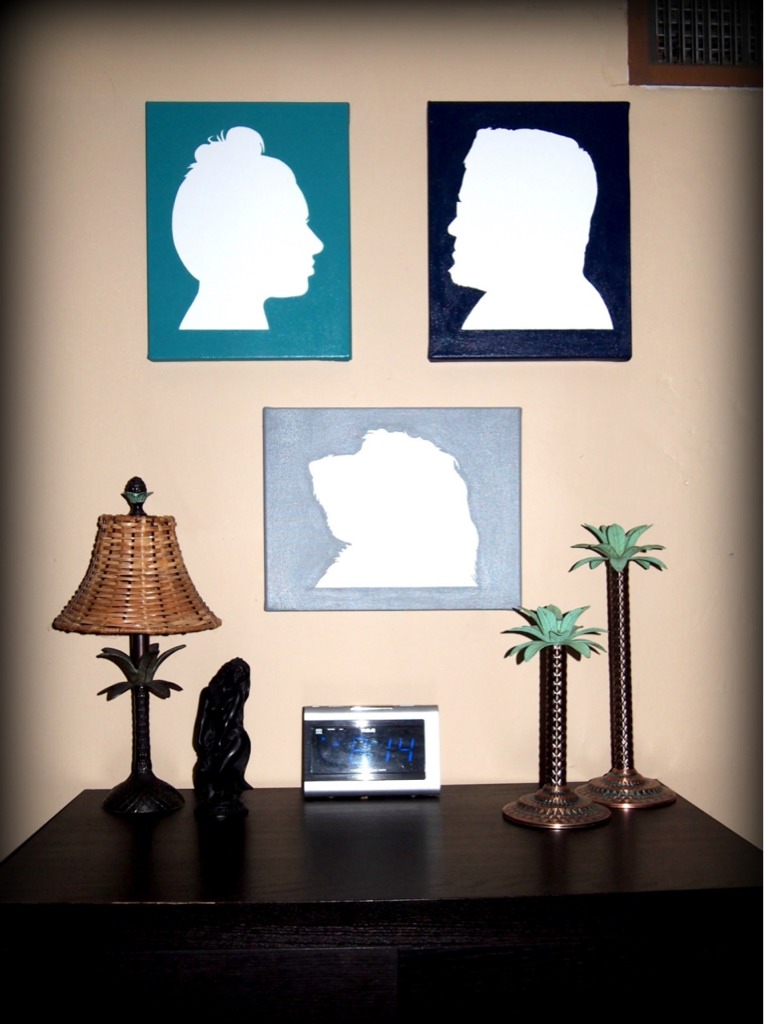
All of this just a long-winded way of saying I'm getting back into the swing of things, folks! For today, I'll leave you with an art piece I made a couple months back. I'm not big on photos being displayed everywhere in my home but always wanted to have some sort of a family portrait. I love silhouettes and thought of this idea years ago but, not being a painter, had no idea how to go about it. Enter Manzanita's
post, two and a half days of work, and now this proudly hangs in my bedroom.
- Posted using BlogPress from my iPhone