Recently, I completed a baby blanket as a gift for a pregnant friend. It got some good response in the ol' Instagram community, so I thought I try my hand at writing a pattern and offer it for free to you fine folks!
As this is my first time writing a pattern out for others to actually be able to use, please be kind and forgive any errors made. Did I screw up somehow? Let me know and I'll be happy to help/fix the mistake!
So, without further ado - ta-dah! - the pattern:
Striped Chevron Baby Blanket
When I learned my friend was pregnant, I knew instantly
that I wanted to knit something for her.
She’s a classy little lady so I thought a classy little blanket would be
perfect – and preferably one that didn’t scream “cutesy.” Enter this striped chevron blanket! Once you’ve gotten the hang of the pattern,
it’s pretty quick and easy going, with enough changes to keep from getting
bored to tears while knitting it but not so complicated that you get frustrated
or lost when you have to put the project down.
And it’s super customizable! Add
or subtract rows to make the stripes wider or the blanket longer and use any
colors you’d like!
Quick tip: Make
the chevron pattern into a simple chant you repeat to yourself while knitting
to avoid making the easy mistake of creating extra stitches in your rows (learned
this the hard way - but chanting in my head really helped!)
Materials
·
Size 8 needles (36 in. circular)
(My personal faves – Denise Interchangeable Knitting Needles)
·
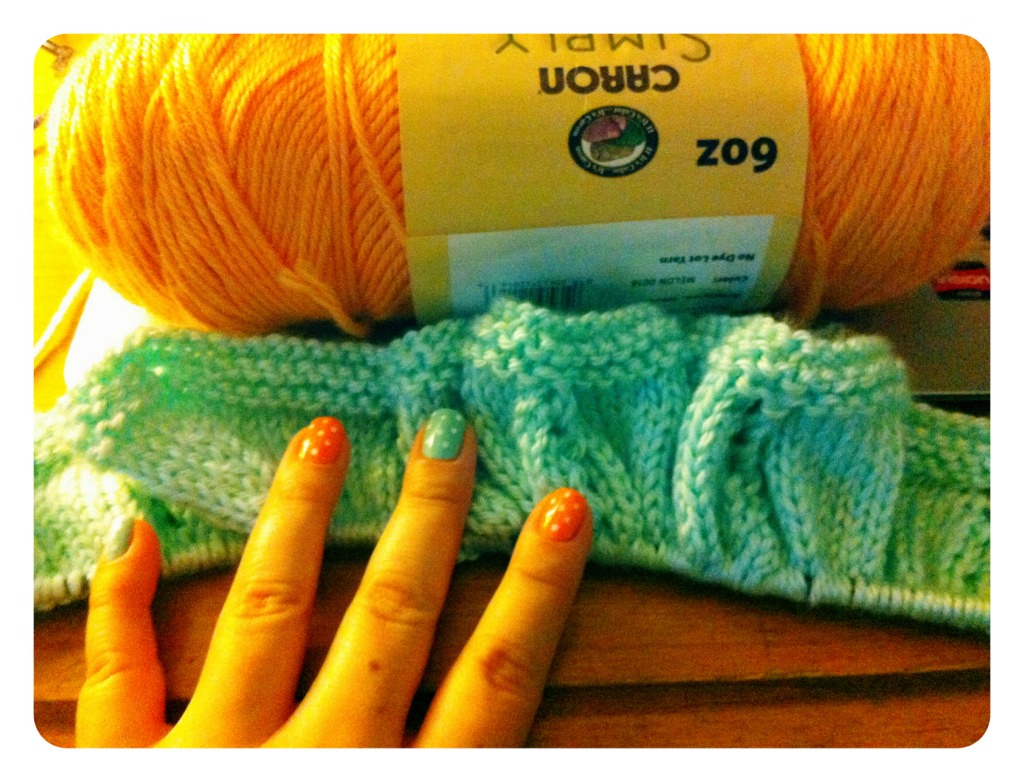
Worsted weight yarn
(I used Caron Simply Soft but any worsted weight yarn
will do)
Colors
·
A1 and A2: Caron Simply Soft – Heather Grey (315
yds.) - 2 skeins
·
B: Caron Simply Soft - Lemon (315 yds.) - 1 skein
·
C: Caron Simply Soft - White (315 yds.) - 1
skein
Gauge
(although, on a blanket, do you really need to worry about it?)
Approx. 4 sts. x 7 sts. = 1 in. in chevron pattern
Finished
Measurements
Approx. 29 in. x 30 in.
Chevron Pattern
*K2tog, K10, YO, K1, YO, K10, S1, K1, PSSO*
Border
Using A1, CO 156 sts
Rows 1 - 4: Knit
in garter stitch for 4 rows.
Body
(You will be maintaining the edges in garter stitch
throughout the entire blanket.)
Row 5 (right side):
K3, chevron pattern to last 3 sts, K3
Row 6: K3,
P150*, K3
Rows 7 - 38*:
repeat rows 5-6 (34 rows total)
Yellow Stripe
Row 39* (right
side): K3, add in and switch to B, k chevron pattern until 3 sts remain.
Add in and switch to A2, K3.
Row 40*: using
A2, K3, bring yarn forward as if to purl, twist B around A2 and continue to P150* sts with B, yarn back as if to knit, twist A1 around B and continue to K3 with
A1
Row 41*: Using
A1, K3, move strand B back to knit, twist around A1 and continue in chevron pattern
until last 3 sts, move strand B back, twist A2 around B, and K3 using A2.
(Note: This reads a little complicated but it’s
really not, it’s just to show how to twist the strands around during your color
change so there are no gaping holes in your work as you progress.)
Rows 42-54:
Repeat Rows 40 and 41 (16 rows total of color B)
White Stripe
Row 55* (right
side): With A1 K3, add in C and continue in chevron pattern until 3 sts
remain, switch to A2 and K3
Row 56*: K3
with A2, P150* with C, K3 with A1
Rows 57-58*:
Repeat rows 55 and 56 (4 rows total of color C)
Yellow Stripe
Rows 59 (right
side) - 76*: repeat rows 40 and 41 (16 rows total)
Body (Grey
Stripe)
Rows 77 (right
side) - 92*: using A1, K3, chevron pattern to last 3 sts, P3 (16 rows total)
(It’s up to you if you’d like to keep using A2 where the
pattern usually calls for it. It does make it one less seam you’d have to weave
in later, if you do. J)
Yellow Stripe
Rows 93 (right
side) - 110: repeat instructions for rows 40 and 41 (16 rows total)
White Stripe
Rows 111 (right
side) - 114: repeat instructions for rows 55 and 56 (4 rows total)
Yellow Stripe
Rows 115 (right
side) - 130: repeat instructions for rows 40 and 41 (16 rows total)
Body
Rows 131 (right
side) – 164: using A1, K3, chevron pattern to last 3 sts, P3 (34 rows total)
(Do not continue using A2 at this point, it’s no longer necessary
– except for if you run out of A1 before you finish the blanket.)
Border
Rows 165 (right
side) - 168: K in garter st for 4 rows
Finishing
Bind off all stitches.
Weave in ends and block blanket (if desired).
* Errata
Row 6: A previous version stated P156, corrected to P150
Rows 7-38: A previous version stated Rows 7-39, corrected to 7-38
Row 39: A previous version stated Row 40
Row 41: A previous version stated P156, corrected to P150
Row 57: A previous version stated P156, corrected to P150
©2012 She Is Crafting My Doom www.sheiscraftingmydoom.blogspot.com


.JPG)
.JPG)